How to Remove Press-On Nails Without Damaging Your Real Nails
December 19, 2023
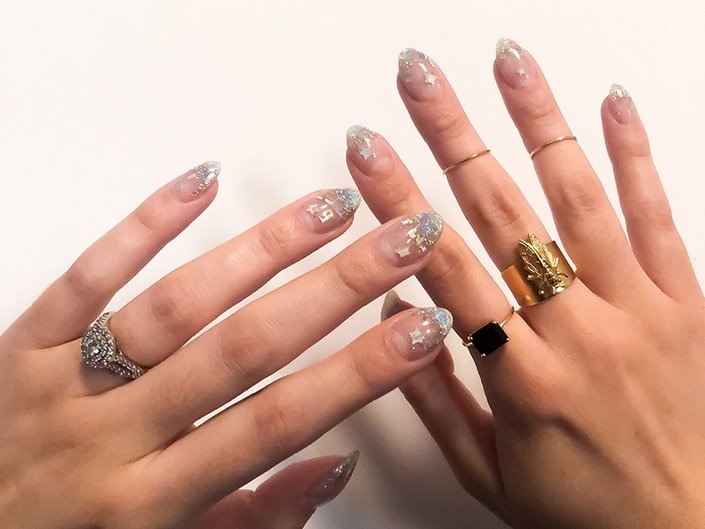
I’ve recently become a press-on manicure stan. As someone who never lets her unmanicured nails see the light of day, I find that press-on nails can look totally natural — and they’re a lifesaver when I need a fresh manicure ASAP. Whenever I'm done wearing my press-ons, though, I’m always faced with the same question: How do I take them off without damaging my natural nails? To solve my predicament once and for all, I turned to celebrity nail artist Gina Edwards. Keep reading to learn the right way to remove all types of press-on nails.
How Do You Remove Press-On Nails at Home?
Step 1: Use a Good Glue
The first step in correctly removing your press-on nails actually happens before the removal process begins, explains Edwards. To ensure a seamless removal, you want to make sure you’re using a good glue that won’t cause damage to your nails. For instance, the Kiss Brush-On Nail Glue is made for easy application and removal. Plus, it’s formulated with aloe vera to help keep your nails moisturized and protected.Step 2: Soak Your Nails
“The best way to remove press-ons is to soak them in a small ceramic or glass bowl filled with acetone-based nail polish remover,” says Edwards. Soak until the glue breaks down and the nails become loose enough to effortlessly pull them off or until they fall off on their own. This method works for press-on nails that you have to glue on yourself and the ones that have the adhesive already on them.
To speed up the process, Edwards says you can also use an artificial nail remover kit. Whatever you choose, remember to be patient. If you yank off your press-ons before they’re ready, it could strip layers off your natural nails and damage them. We love the Olive & June Bye-Bye Press-Ons Removal System.
Step 3: Use a Soft Buffer
If you’re soaking your nails and notice that they’re still not easily coming off, Edwards recommends using a soft nail buffer to carefully remove them. “Never, ever pull up the false nails or file harshly,” she says.
Step 4: Apply a Nail Strengthener
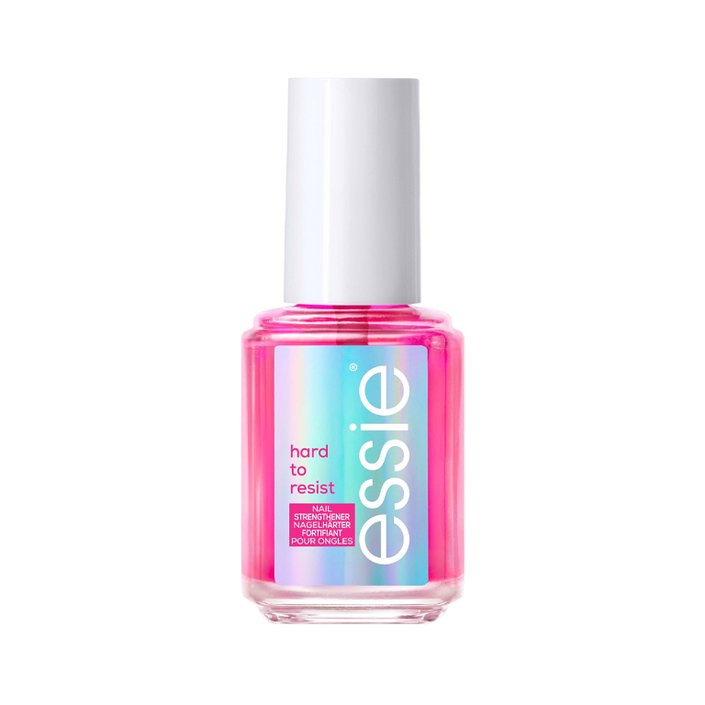
It’s likely that after all that glue and acetone, your nails are in need of a little TLC, so be sure to follow up with a nail strengthener. We love the Essie Hard to Resist Nail Strengthener because it strengthens nails to their original resiliency in just three days.

