How to Make Your Press-on Nails Last Longer
November 27, 2023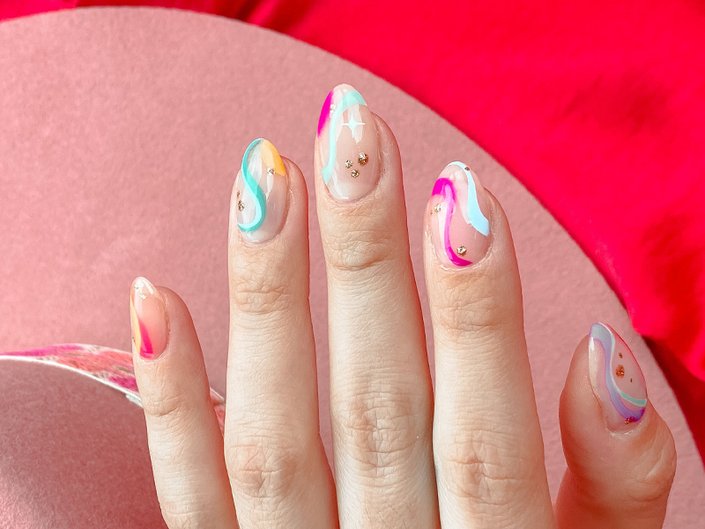
When you don’t have time to go to the salon for a fresh set of acrylics but want a more intricate design than a manicure that you can give yourself, press-on nails are the perfect solution. Not only do they come in a variety of colors, patterns, shapes and sizes, they’re generally more affordable than a trip to the salon and can be applied anywhere, from the comfort of your home to the backseat of a car on your way to an event. To find out how to properly apply your press-on nails and make them last as long as possible, we reached out to Ann McFerran, nail expert, CEO and co-founder of Glamnetic. Follow along for her tips on how to make your press-on nails last for as long as five weeks.
How to Apply Press-on Nails
Step 1: File Your Nails
First, Mcferran says to file your natural nails to a shorter length than the press-ons you’re applying.
Step 2: Prep the Surface
Next, gently push back your cuticles with a cuticle pusher and lightly buff the surface “to create a nice, even canvas for the nails.”
Step 3: Wipe With Alcohol
Using an alcohol pad, wipe down the surface of your nail beds as well as underneath the nail to remove any oil and dirt. “The alcohol pad cleans, sanitizes and dehydrates all at once,” says McFerran.
Step 4: Pick Out Your Press-ons
One of the key components to making press-on nails last is choosing press-ons that fit your natural nails. To find the perfect fit, McFerran suggests trying each press-on on top of your natural nail. “Ensure the nail you select perfectly covers your bare nail completely for a longer hold,” she says. “You may file down the size or bottom of a press-on if you feel it is a little too large.”
Step 5: Apply Your Glue
“The key to long-lasting press-ons is prepping and applying an appropriate amount of glue,” says McFerran. She recommends applying a layer of glue on top of your natural nail, as well as the underside of the press-on nail. “Press on the nail and immediately look to see if there are air bubbles. If there are, it means you didn’t apply enough glue, so immediately take it off and apply more glue and press it back on.” Once there are no air bubbles, press and hold the nail for 20 seconds to secure, and repeat for each of your nails.
Step 6: Finish With Cuticle Oil
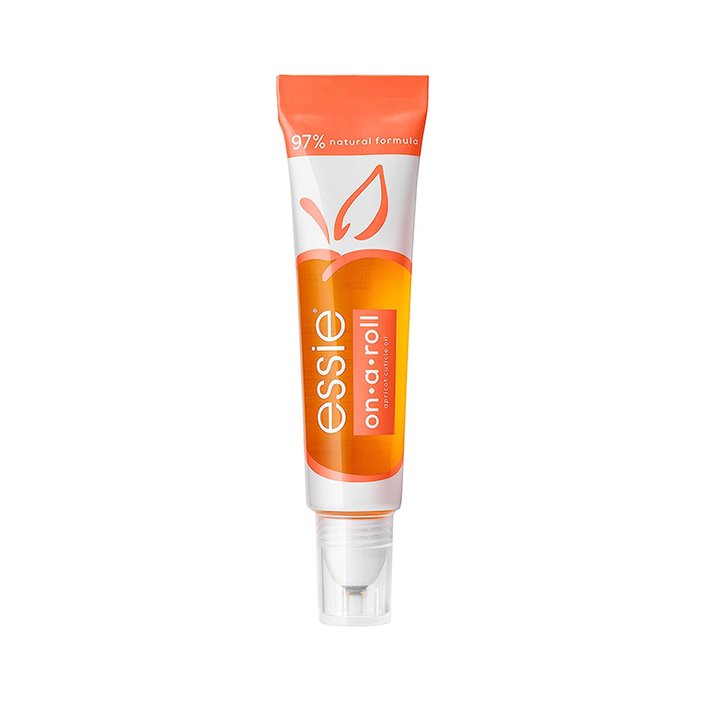
For a fresh-from-the-salon look, finish with a coat of cuticle oil to keep your cuticles looking hydrated. (We love the Essie On A Roll Apricot Cuticle Oil.)
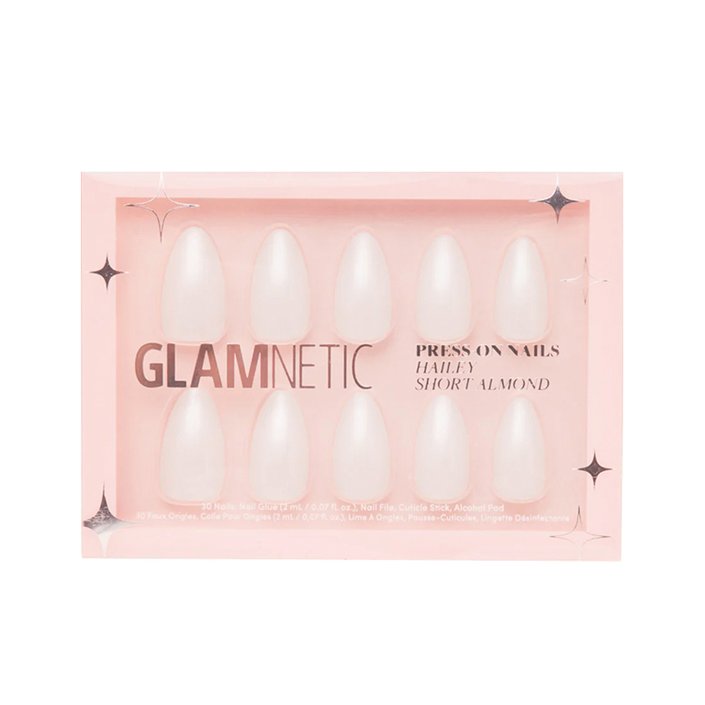
The Glamnetic nail kits come with everything you need for proper application, including the nails themselves, an alcohol pad, a nail file, nail glue, a cuticle pusher and a nail file, though you can also purchase each piece separately if you already have your desired press-ons.
Should You Cure Press-on Nails With a UV Lamp?
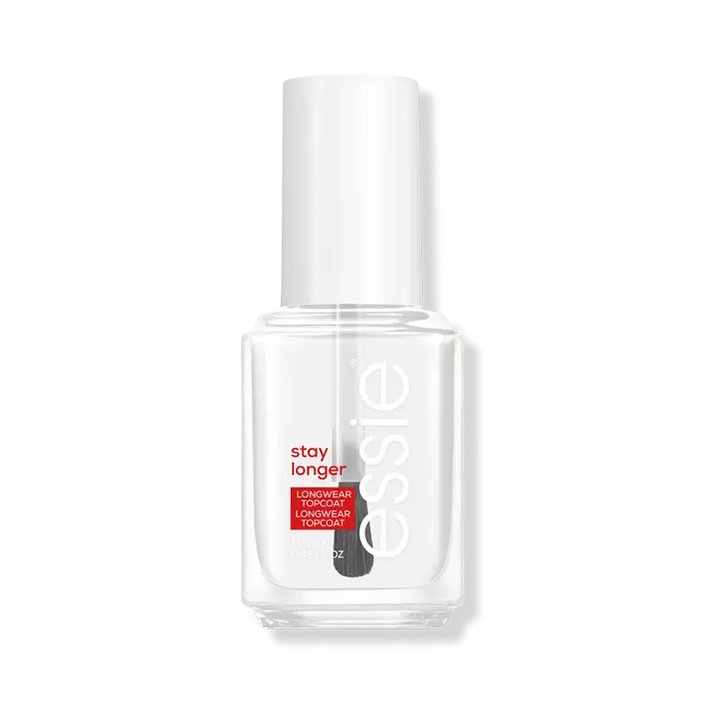
It depends on the press-ons you’re using. Some press-on nails require curing, while others, including the Glamnetic sets, come pre-cured with a UV top coat. McFerran notes that for extra staying power, you can apply a layer of clear top coat to the nails to make the designs last longer. We recommend the Essie Stay Longer Top Coat. If you press-on nails are not designed to be cured, it’s the safest bet to skip this step.
How Long Do Press-on Nails Last?
McFerran says that some Glamnetic customers have reported their press-ons lasting for up to five weeks — about the length of an acrylic manicure. However, the duration of your press-ons will vary heavily based on how you prep your nails, the nail glue you use, your lifestyle and how often or how roughly you’re using your hands. Most press-on nails will note exactly how long they’re designed to last on the packaging.
Read more
EXPLORE BY TOPICS AND BRANDS
- Video Embed
- Embedded Video


.jpg?cx=0.5&cy=0.5&cw=150&ch=120&blr=False&hash=7EFF884A993DEA3F5478073D512F8CFC)


