How to Use a Makeup Sponge for a Flawless Look in 2 Easy Steps
August 11, 2023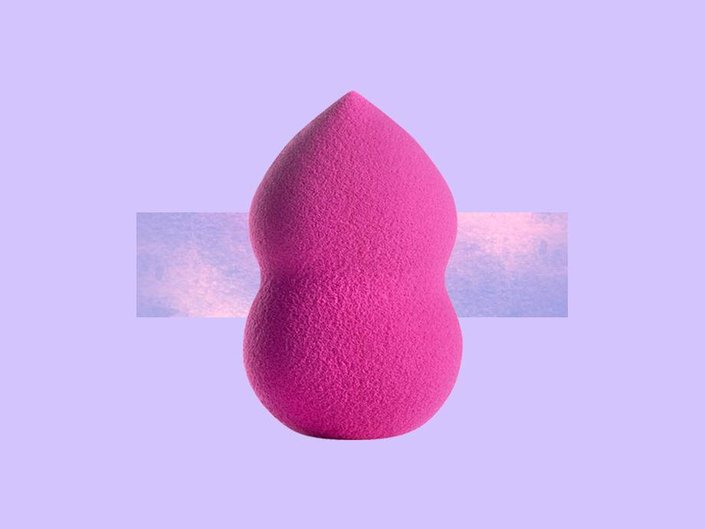
Trying to choose our favorite beauty tool of all time is not an easy feat, but the makeup sponge is definitely up there. Makeup sponges are a game-changer for makeup application and they make blending your foundation a breeze. It’s likely you already have one (or a few!) sponges on your vanity, but you might still be a little unclear on how best to use it to apply different types of makeup products, or how to keep it clean. Ahead, with the help of celebrity makeup artist Kasey Spickard, we’re giving you a crash course on everything you need to know about makeup sponges.
What Is a Makeup Sponge?
Makeup sponges, also sometimes referred to as beauty sponges, are soft, absorbent tools that are used to apply foundation and other makeup products. They are best for applying makeup liquid or cream products, but you can also use a makeup sponge to blend and set powder.
Typically shaped like an egg or a teardrop, there are several different kinds of makeup sponges. According to Spickard, “the ones you see most often are the larger egg-shaped beauty sponges, like Beautyblender, with the large rounded base, which is great for bouncing and blending in foundation, while the pointed tip is great for more precise blending like concealer under the eye.”
Makeup sponges come in reusable and single-use options. Most makeup sponges you’ll encounter at the store are the reusable kind from brands such as Beautyblender. But “there is also the classic wedge makeup sponge, which are typically single-use sponges used by pro makeup artists,” says Spickard. “Lastly, there are flat-edge beauty sponges like the Real Techniques sponges that blend the benefits of the egg sponge with the precision of a classic wedge.”
How to Choose a Makeup Sponge
The size and shape of a makeup sponge varies depending on what they're being used for. Larger, rounded sponges, like the L’Oréal Paris Infallible Makeup Sponge, are ideal for applying your base makeup, such as foundation. (One of our favorite liquid foundation formulas right now is the hydrating YSL Beauty All Hours Foundation.)
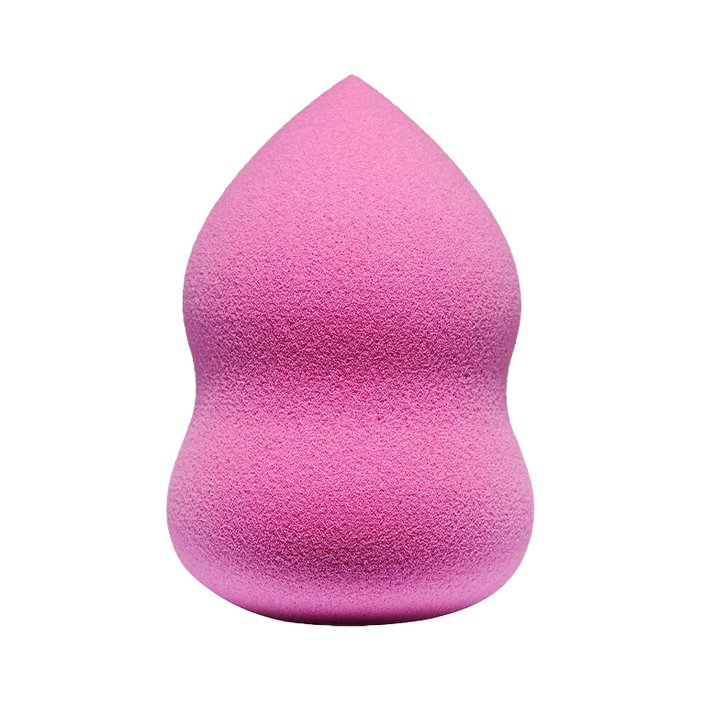
Angled sponges, like the NYX Professional Makeup Complete Control Blending Sponge, are good for contouring and setting your face with powder, while smaller sponges, like the Real Techniques Mini Complexion Sponges, offer a more precise application for the under-eye area. They’re also great for concealing blemishes. Adds Spickard, “a damp Beautyblender is going to be the best for those who want to work their complexion products into their skin without having to get a new makeup sponge every time.”
In general, reusable sponges are preferable from cost-efficiency and sustainability angles. However, “wedge sponges are preferred for pro artists as they’re disposable and you can use a clean one every time on each client,” he says. “Additionally, the sharp edges allow you to do more precise application due to the straight edges of the sponge.”
How to Use a Makeup Sponge
Step 1: Wet the Sponge
Before you begin applying your makeup, dampen your sponge and squeeze out any excess water. This step will allow your products to seamlessly melt into your skin and provide a natural-looking finish. Keep in mind that your sponge should be slightly damp, not dripping wet.
Step 2: Apply Product in a Dabbing Motion
Pour a small amount of liquid foundation (or whichever product you are applying) onto the back of your hand, then dip the rounded end of your sponge into the makeup and begin applying it on your face. Do not rub or drag the sponge across your skin. Instead, gently dab or blot the area until your foundation is completely blended. Use the same dabbing technique when applying concealer underneath your eyes and cream blush to your cheeks. You can also use your sponge for blending cream contour products and liquid highlighter.
How to Apply Foundation With a Makeup Sponge
For liquid foundation, Spickard actually recommends starting by applying the foundation to the center of your face using a foundation brush. “Then, with a damp sponge, bounce and tap the sponge on the face, working the product into the skin,” he says. “Work outward to distribute the product across the face.” Pro tip: We love the Giorgio Armani Beauty Luminous Silk Foundation because it has a lightweight feel and stunning glowy finish.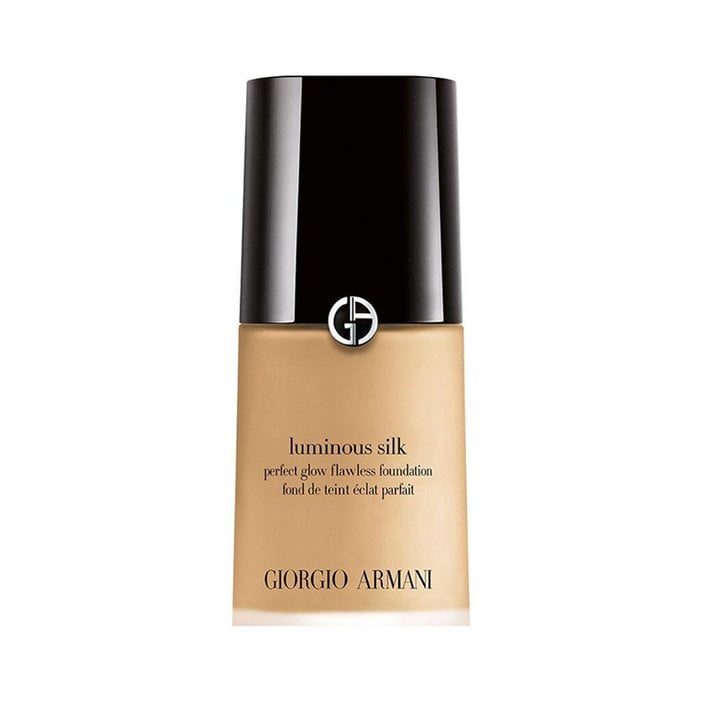
How to Apply Blush and Highlighter With a Makeup Sponge
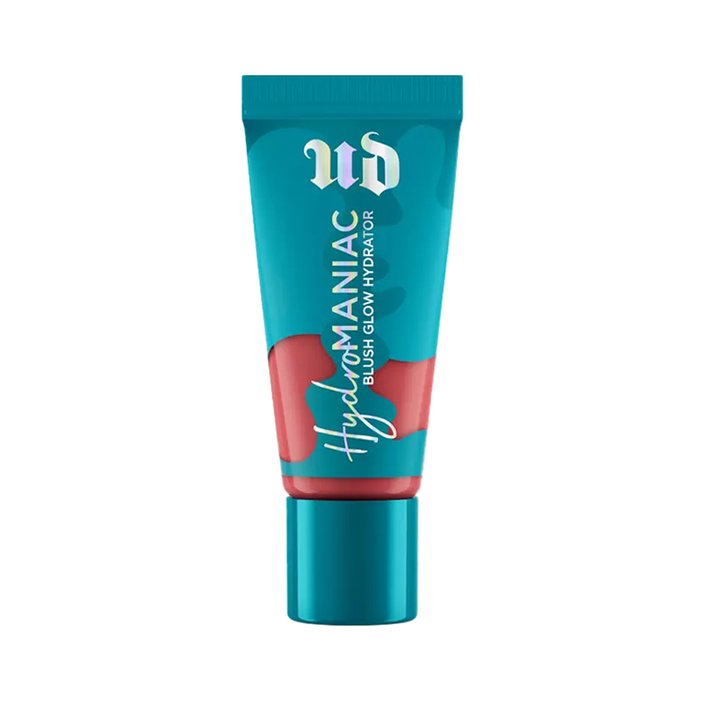
“Warm up the cream blush on the back of your hand, then tap the large rounded base of your makeup sponge into the product,” Spickard explains. “Bounce the sponge onto the apples of the cheeks and up the cheekbones.” In the market for a new liquid or cream blush? We’re obsessed with the Urban Decay Hydromaniac Dewy Liquid Blush, a rosy, plumping cheek tint.
When applying cream highlighter with a makeup sponge, you’ll follow essentially the same steps as with blush, but you’ll place the product in different spots. You should apply highlighter “to the high points of the cheekbones, tip of the nose and cupid’s bow,” according to Spickard.
How to Contour With a Makeup Sponge
A makeup sponge really is the ultimate versatile application tool — you can even use it to contour your face. As with foundation, you’ll start by laying down the product with a brush so you can have more control over where you are contouring. “Apply the contour using a flat foundation blush to the cheekbones, perimeter of the forehead, nose and jawline,” says Spickard. “Then, using the sponge, use a tapping and bouncing motion to diffuse the product.”
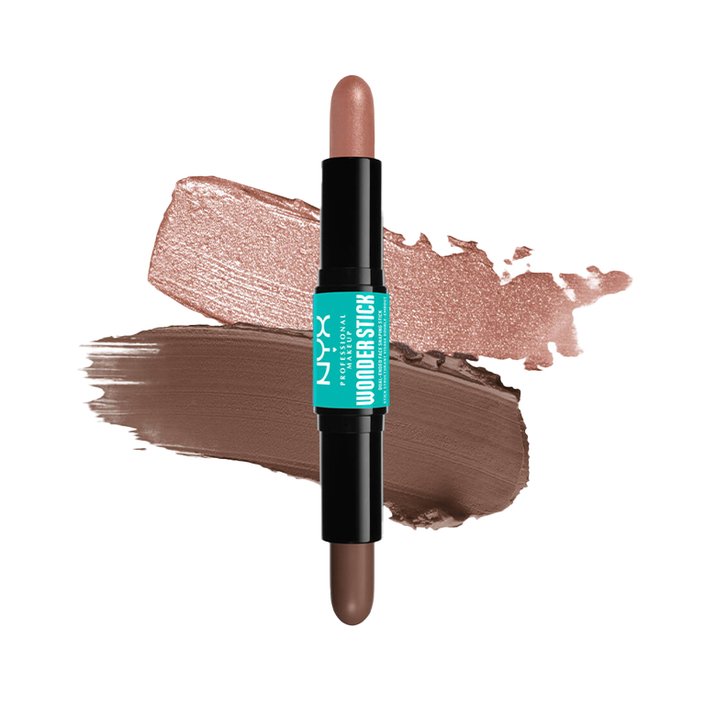
Or, you can skip the brush step by using a contour stick, like the NYX Professional Makeup Wonder Stick Contour and Highlighter Stick. It doesn’t get much easier than swiping the contour end of the stick on the areas that you want to sculpt, then blending with your sponge.
How to Apply Concealer With a Makeup Sponge
“Using a small, flat concealer brush, apply your concealer under the eyes, center of the forehead, down the nose, upper lip and center of the chin,” Spickard explains. “Using the pointed tip of your blender, tap the product in and blend the edges.” (If you’re using a concealer that comes with its own applicator, like the Valentino Beauty Very Valentino Concealer, you won’t need to invest in a concealer brush.)
Regardless of what type of product you are applying and blending with your sponge, it’s important to remember not to swipe or drag. Says Spickard, “swiping motions using a makeup sponge will take away product, tapping will help blend edges without removing product.”
How to Clean Your Makeup Sponges
It’s crucial to regularly clean your makeup sponges to prevent the buildup of dirt and bacteria. If you neglect to clean your sponges (or your brushes), you run the risk of breakouts and even infections in extreme cases. Plus, having clean sponges will also help your makeup go on smoother and look better.
There are special cleansers created just for makeup sponges, but mild soap will also do the trick. Run your makeup sponge under hot water until it is fully saturated. “Then, using a sponge cleaner (I like the Solid Charcoal Beautyblender Soap), swirl the sponge into the soap and saturate it,” says Spickard. “Massage the sponge using squeezing motions to break up the makeup in the sponge.” Rinse the sponge under the warm water and squeeze it, repeating the whole process until the water runs clear and your sponge is free of any makeup.
“For particularly stubborn stained sponges, I will apply Dawn liquid dish soap directly to the sponge and massage it in to break up the makeup,” Spickard notes. He finished the process by spraying his sponges with 70% alcohol to kill any lingering bacteria.
To dry your sponge, roll it onto a clean towel to remove any moisture and lay it flat to air dry. Do this cleansing process once a week and be sure to replace your sponge every couple of months, depending on frequency of use.
How to Store Your Makeup Sponge
“I store my makeup sponges in a mesh bag to allow them to dry fully,” says Spickard. “Do not store makeup sponges in an enclosed space — this creates a breeding ground for mold and bacteria.” It’s important to allow your sponges to dry and air out between uses.
If there’s one package you shouldn’t throw out, it’s the plastic your beauty sponge comes in. These make the perfect holders for your sponge and are an eco-friendly way to upcycle the packaging (just remember to leave the top off so your sponge can breathe). Want something cuter? There are lots of affordable makeup sponge holders that are vanity- and Instagram-friendly.


.jpg?cx=0.5&cy=0.5&cw=150&ch=120&blr=False&hash=7EFF884A993DEA3F5478073D512F8CFC)


