How to DIY the Jelly Nail Trend With Just 2 Products

You’ve seen it on your social feeds, in the latest issue of your favorite aspirational beauty mag and most likely in your dreams: the sleek, jelly nail polish that’s taken the manicure world by storm and captured our hearts. Ever since stumbling upon the look, we’ve searched far and wide on exactly how to DIY it at home, and we finally mastered the trend using only two (yes you read that right: two!) products.


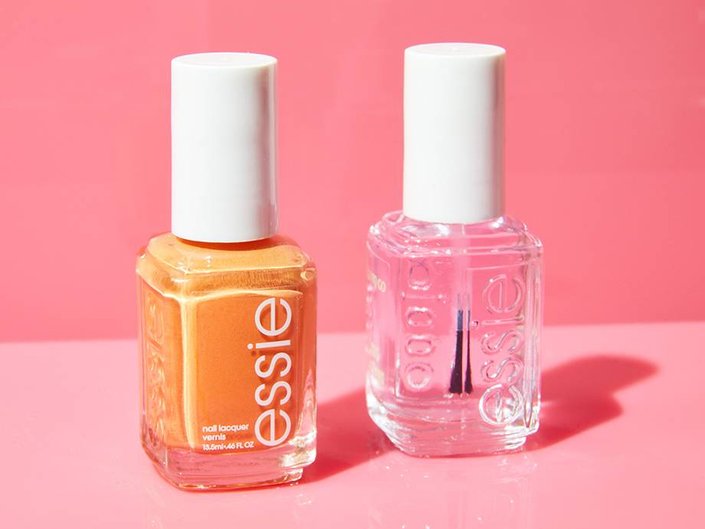
After applying your normal base coat, start by mixing a drop of bright nail polish of your choice and a topcoat onto a palette. Our go-to color lately has been the new gorgeous yellow from the Essie Fall 2018 Collection: Fall For NYC, and our current favorite topcoat is of course Essie Good To Go. The trick here is to mix mostly topcoat with just a hint of color, creating an almost-sheer version of the polish you picked. After mixing, apply one or two coats onto your nails for a totally cool jelly-like finish.
If you’re looking to make your nails a little more opaque, feel free to add more color, but for this type of see-through, jam-inspired look, less is always more. Now, excuse us while we go jelly-fy our nails — and after trying this, we guarantee you’ll want to, too.


.png?cx=0.490000009536743&cy=0.540000021457672&cw=150&ch=120&blr=False&hash=D43FAB504FB280471AA49712C0861D78)


