QQ: How the Heck Do You Curl Your Hair With a Flat Iron?
April 14, 2021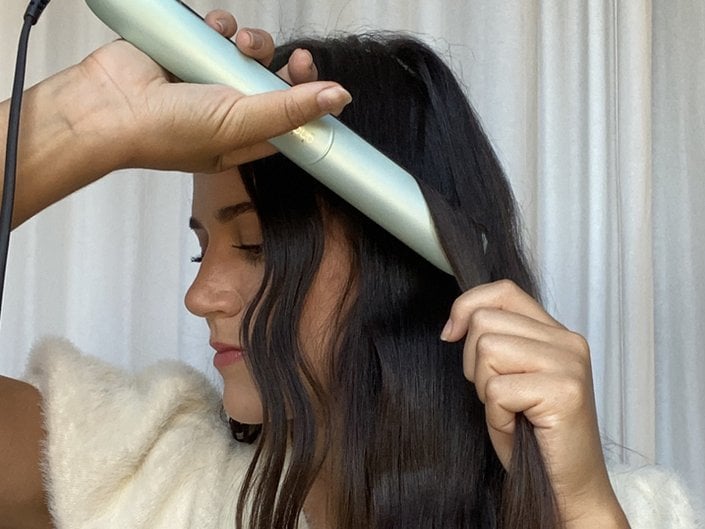
With the wrong technique, achieving perfectly tousled beachy waves from your flat iron can seem like an impossible feat. But with the right tips, you’ll be creating masterful flat iron waves in no time. For a full wave-making tutorial, we reached out to Denise Madrigal, a hairstylist at Nine Zero One Salon in Los Angeles. Read on for her pro tricks.
-
STEP 1:
Prep the Hair
“Always start with smooth, dry hair, whether it’s blow-dried or flat ironed,” says Madrigal. “And use a heat protectant, too.” We love the Garnier Whole Blends 10-in-1 Miracle Nectar Leave-in Treatment because it helps hydrate, smooth and protect hair from heat.
-
STEP 2:
Choose Your Tool
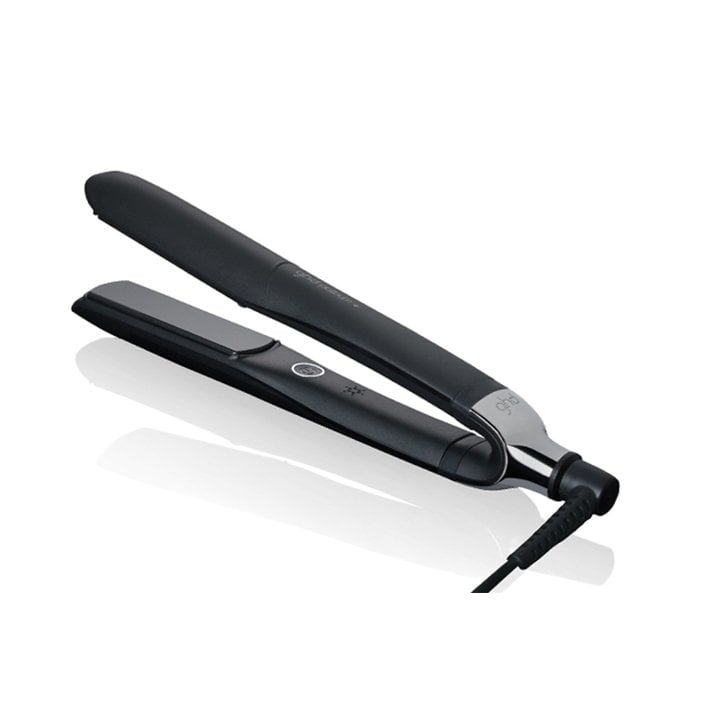
Choosing the right hot tool and temperature setting can make or break your look. “Look for a good quality, thin flat iron,” says Madrigal. “Try to keep heat under 400 degrees F, especially if you have color-treated or damaged hair.” The GHD Platinum+ Styler is a team favorite because it heats up to an optimal 365 degrees F and has rounded edges that help create waves.
![GHD-flat-iron]()
-
STEP 3:
Section Your Hair
As your iron is heating up, section your hair. You can group your hair by layer or by separating the front, crown and back sections. Sectioning your hair will improve your control and ensure that you don’t miss any pieces.
-
STEP 4:
Create Your First Curl
“Grab a thin to medium section of hair at the front and start at the top of it,” says Madrigal. “Begin to twist the iron away from the face until you’ve reached the bottom of the strand to complete the curl.” We like to hold the end of the hair as we rotate the flat iron to help control the speed at which the hair glides through the plates.
![garnier-whole-blends-leavel-in-treatment]()
-
STEP 5:
“Once you’ve reached the hair behind the ears, you can start alternating the direction of the curl,” says Madrigal. Switching up the direction will give you more volume, a more natural look and ensure that your curls don’t combine into one big wave. Pro tip: If you want more of a beachy-looking curl, leave the ends of the hair straight.
-
STEP 6:
To create a more lived-in look, run your fingers or a wide-tooth comb through your hair. “Depending on your preference, brush your hair down for a more polished wave or tease your hair underneath and upward for a messier, more volumized look,” says Madrigal.
Finally, spritz on one of your favorite finishing products to help your hair last throughout the day. We recommend a light coating of the L’Oréal Paris Elnett Satin Extra Strong Hold Hairspray.


.jpg?cx=0.5&cy=0.5&cw=150&ch=120&blr=False&hash=7EFF884A993DEA3F5478073D512F8CFC)


